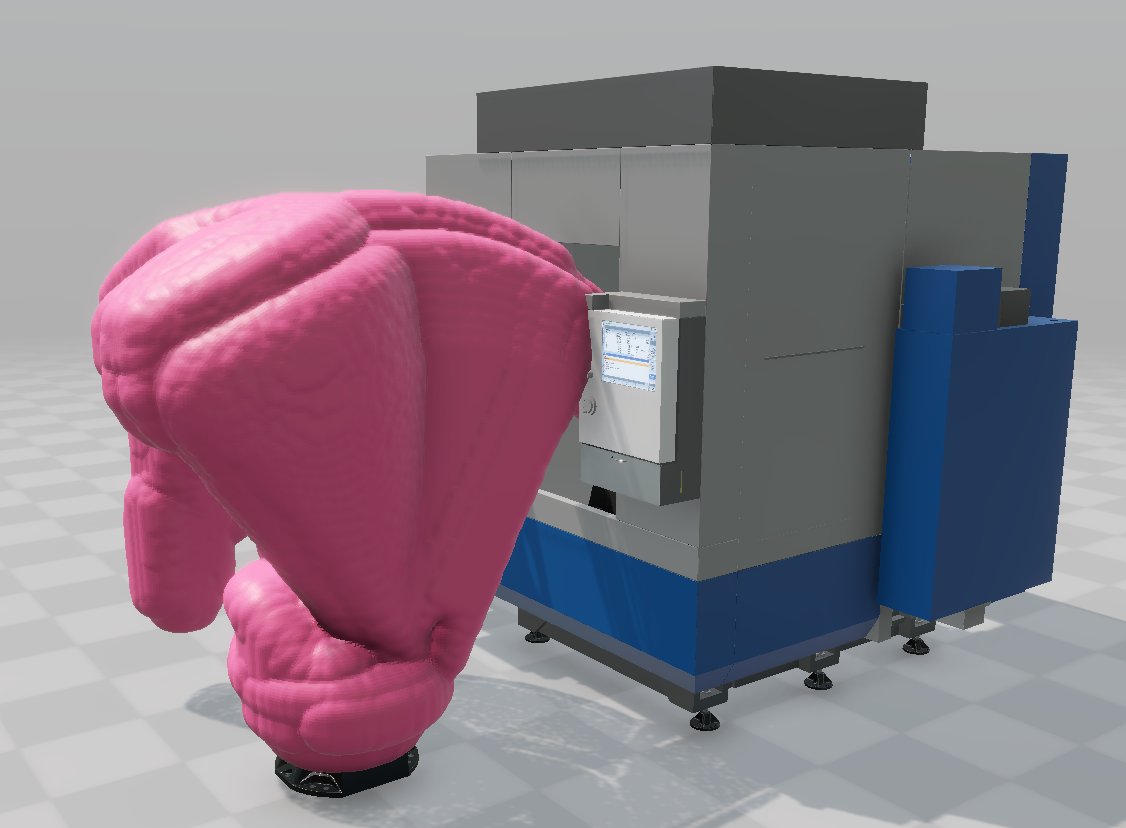
Volume Tracking
Volume tracking allows to record the volume occupied over time by moving components. Once the volume is recorded, the minimal distance can be visualized on any object using different modes.
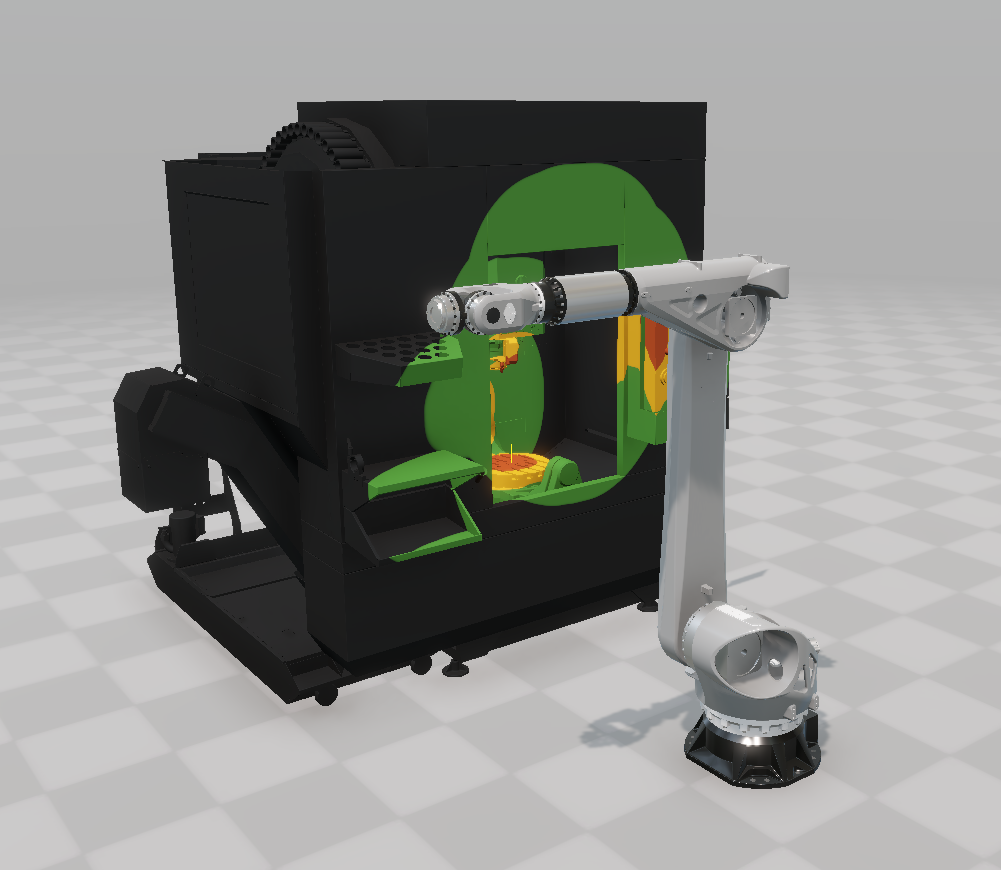
The distance to the volume occupied by the robot is visualized in the CNC machine using a discrete color gradient
Volume Tracker
Section titled “Volume Tracker”The VolumeTracker prefab can be dragged into a scene. It allows setting up the volume tracking system in edit mode, while recording is done in play mode.
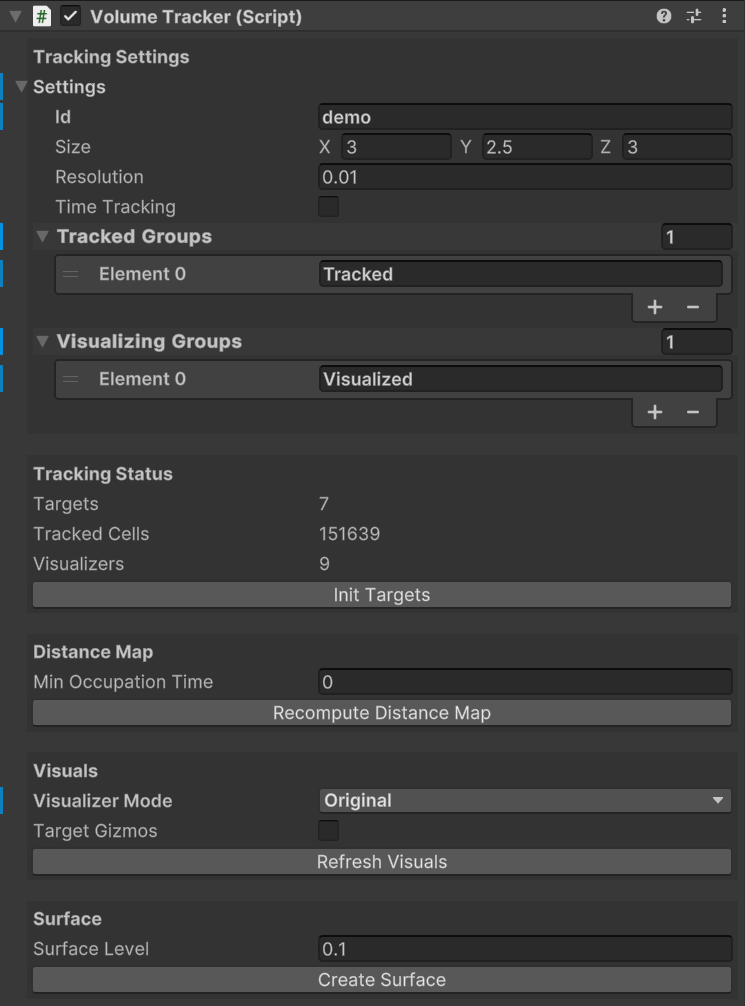
| Attribute | Function |
|---|---|
| Id | the unique identifier of this tracking system. It defines the persistent save path of the generated volume assets. |
| Size | Defines the bounding box of the tracking system. |
| Resolution | The resolution defines the dimensions of a single voxel. |
| Time Tracking | If set to true, the system will track the occupation time for each voxel. If set to false, the system simply reports if a voxel has been occupied or not. |
| Tracked Groups | The names of the groups that will be tracked |
| Visualizing Groups | The names of the groups that will display their distance to the tracked volume |
| Min Occupation Time | if used with time tracking, this parameter defines the minimal occupation time on a single voxel for it to be marked ass occupied. |
| Visualizer Mode | Allows to choose between different visualization modes |
| Target Gizmos | Shows the gizmos of the target objects defined by Tracked Groups. |
| Surface Level | Defines the level of the generated isosurface |
Setting up the tracking system
Section titled “Setting up the tracking system”The following instructions help to set up the volume tracking in the edit mode.
First, define the Tracked Groups and the Visualizing Groups as well as the Id, the Size and the resolution of your system.
Click on Init Targets to precompute the voxel matrix of the system. Depending on your setup, this may take a while.
Executing the tracking system
Section titled “Executing the tracking system”In order to execute the volume tracker it is required to switch to play mode.
In the section Tracking Status you can find the Start Tracking button. This button starts the the volume recording and once the tracked groups have covered the total area of interest, you can stop the tracking by clicking on Stop Tracking.
The system will automatically generate the required volume assets.
Play mode can be exited for the following.
Visualizing the results
Section titled “Visualizing the results”Once you have generated volume assets, you can choose the visualizer mode that suits your needs. The following gives a brief overview of the available modes.
Original
Section titled “Original”The visualized groups are displayed using their original materials.
Gradient
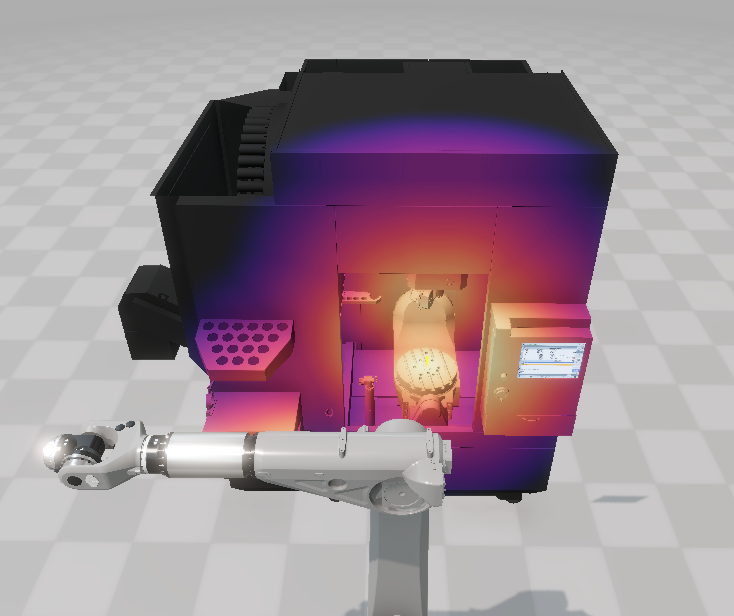
Section titled “Gradient”The minimal distance of the visualized groups to the tracked volume is displayed using a continuous heat color gradient. The range of the gradient goes from 0 to 1 meter.
Segments
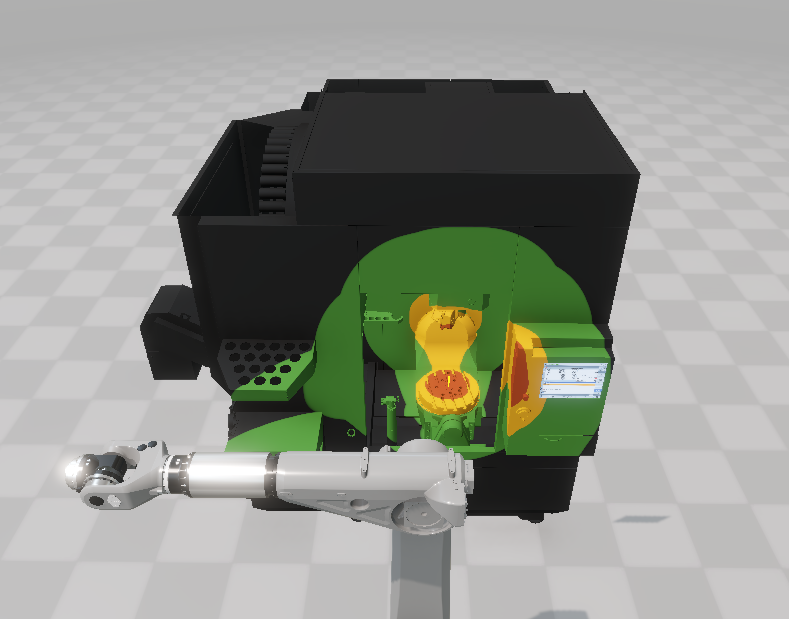
Section titled “Segments”The minimal distance of the visualized groups to the tracked volume is displayed using 3 colored segments with respective cutoffs. The cutoffs can be changed in the inspector.
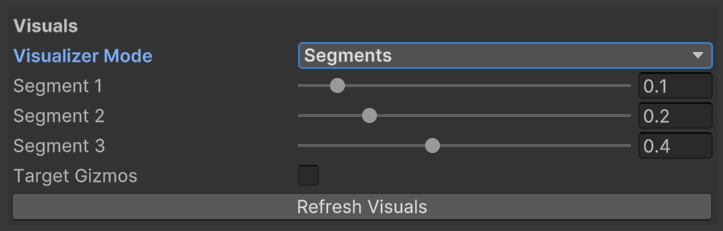
Segment 1 will be displayed as red, segment 2 is yellow and segment 3 is green.
Cutout
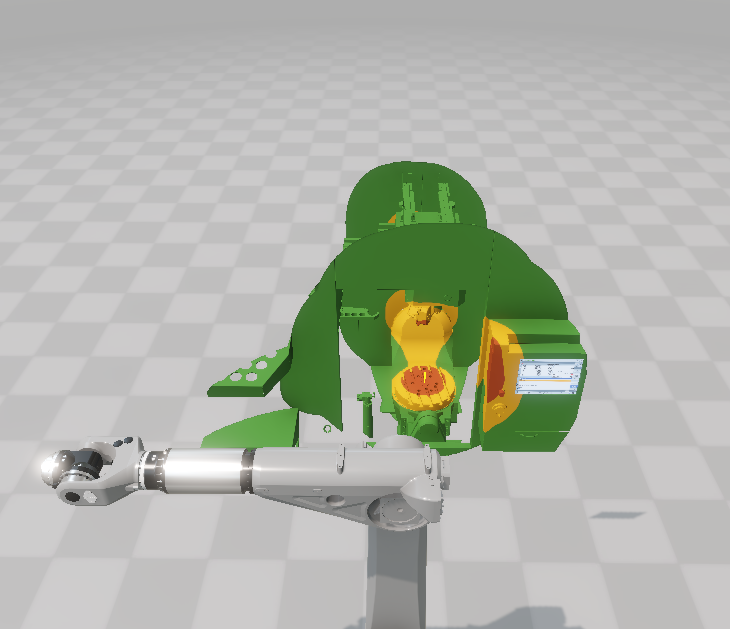
Section titled “Cutout”Displayes the visualized groups as in the Segments mode but it cuts of the visualized groups after the 3rd segment.
Generating an Isosurface
Section titled “Generating an Isosurface”Once you have a recorded volume asset, you can generate a mesh representing the surface of the volume with respect to a certain distance. When set to 0 the isosurface directly shows the occupied volume. For a value of 0.1, the surface encloses the occupied volume with a margin of 0.1 meters as shown below.