Upgrade Guide
This section describes how to upgrade from older version.
For upgrading to 2022 please check Upgrade to 2022.
Upgrading from realvirtual.io 2022 to realvirtual.io 6
Section titled “Upgrading from realvirtual.io 2022 to realvirtual.io 6”This guide will walk you through the process of upgrading your project from realvirtual.io 2022 to realvirtual.io 6.
Step 1: Prepare Your Unity Environment
- Ensure Unity 6 is Installed: Use the Unity Package Manager to install the latest Unity 6 version.
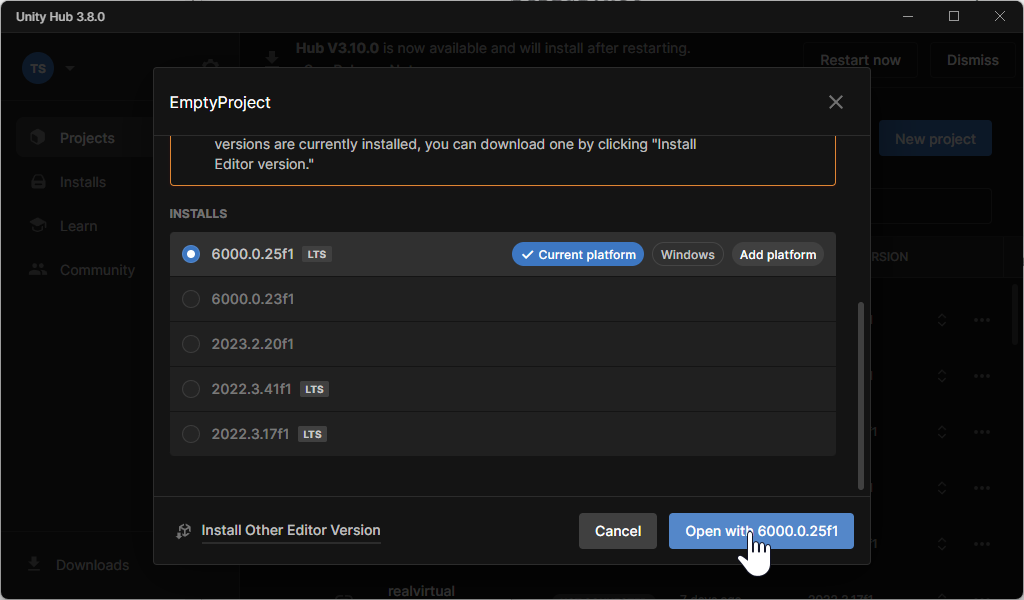
- Select Your Project in Unity Hub: Open Unity Hub, select your existing project, and change the Editor Version to the latest version (6000.X).
- Confirm Version Change: A warning will appear regarding the version change. Select Change Version to proceed.
Step 2: Open and Update Your Project
-
Open the Project: Unity will open your project with Unity 6.
-
Accept Compatibility Warnings:
- Continue Warning: Accept the next warning by selecting Continue.
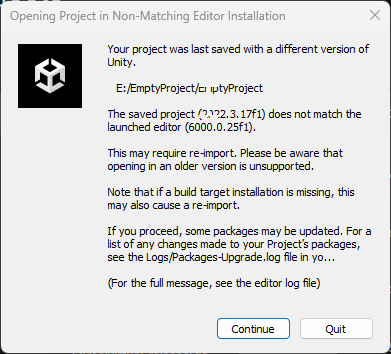
- Old API Warning: You may receive a message about scripts using an older API. Confirm this and proceed. These scripts will be updated when you import realvirtual.io 6.
-
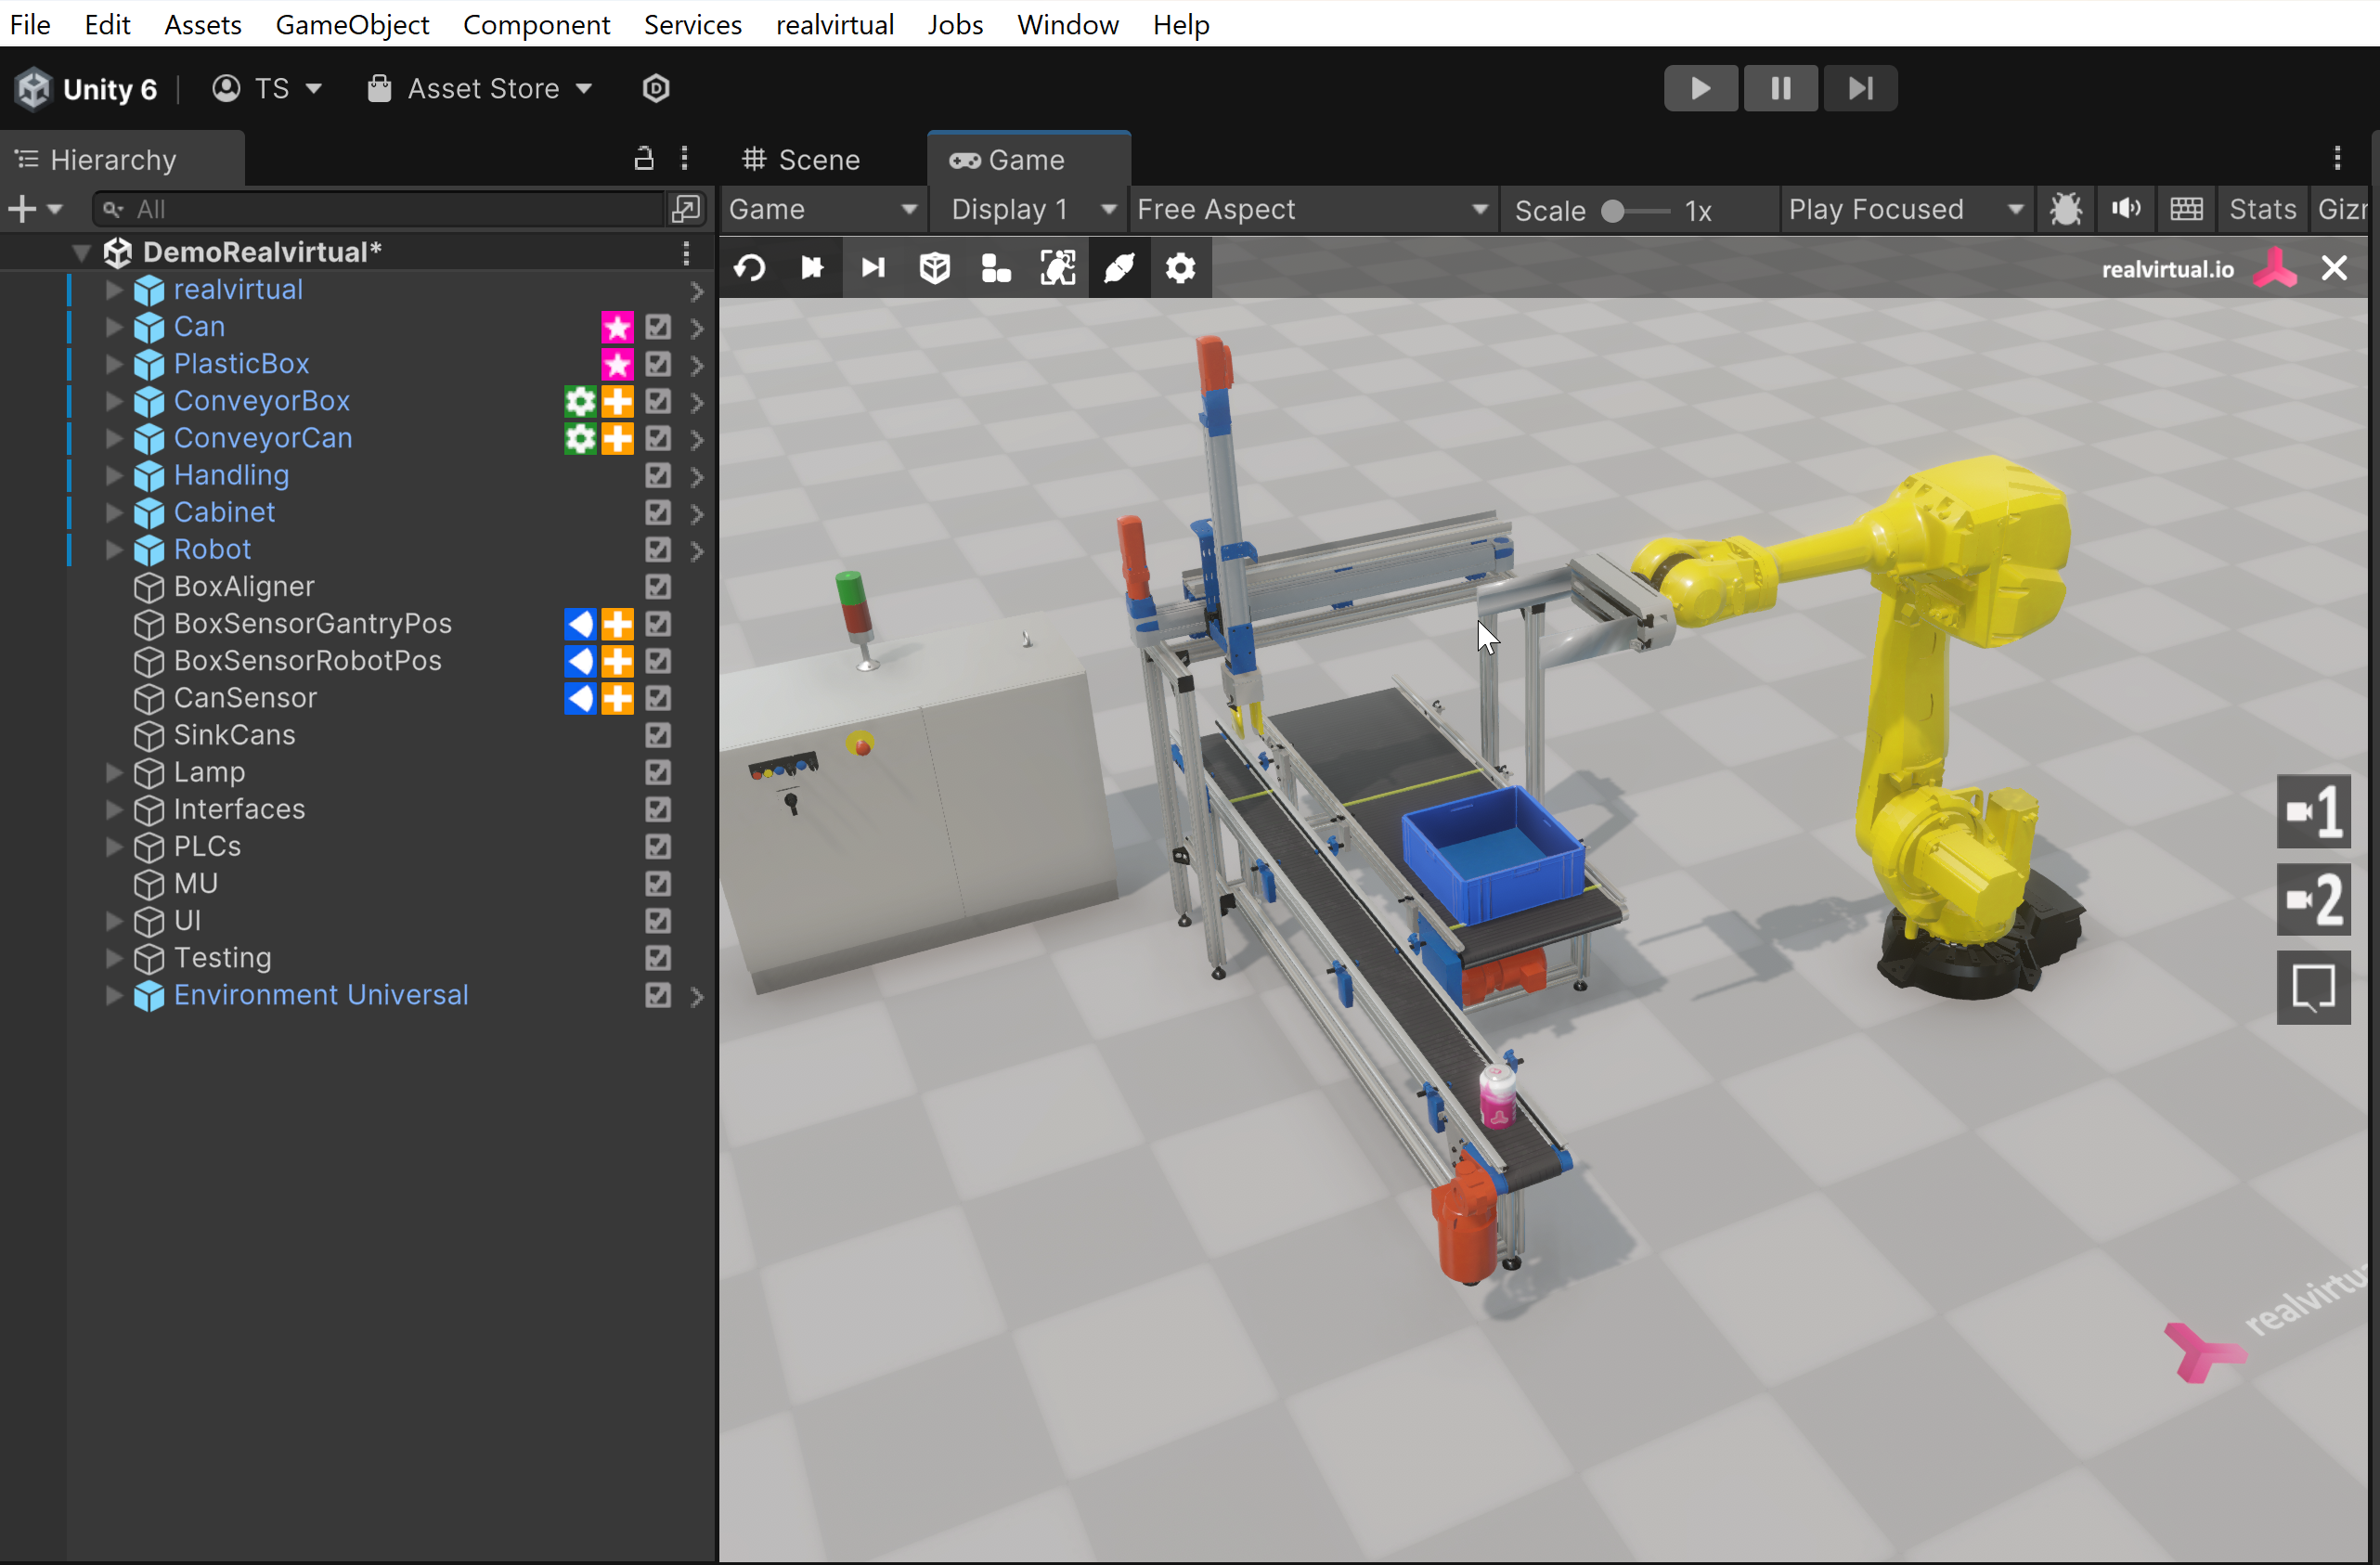
Project Appearance: Your project will open in Unity 6 and may initially appear different due to rendering pipeline changes.
Step 3: Update Materials to URP
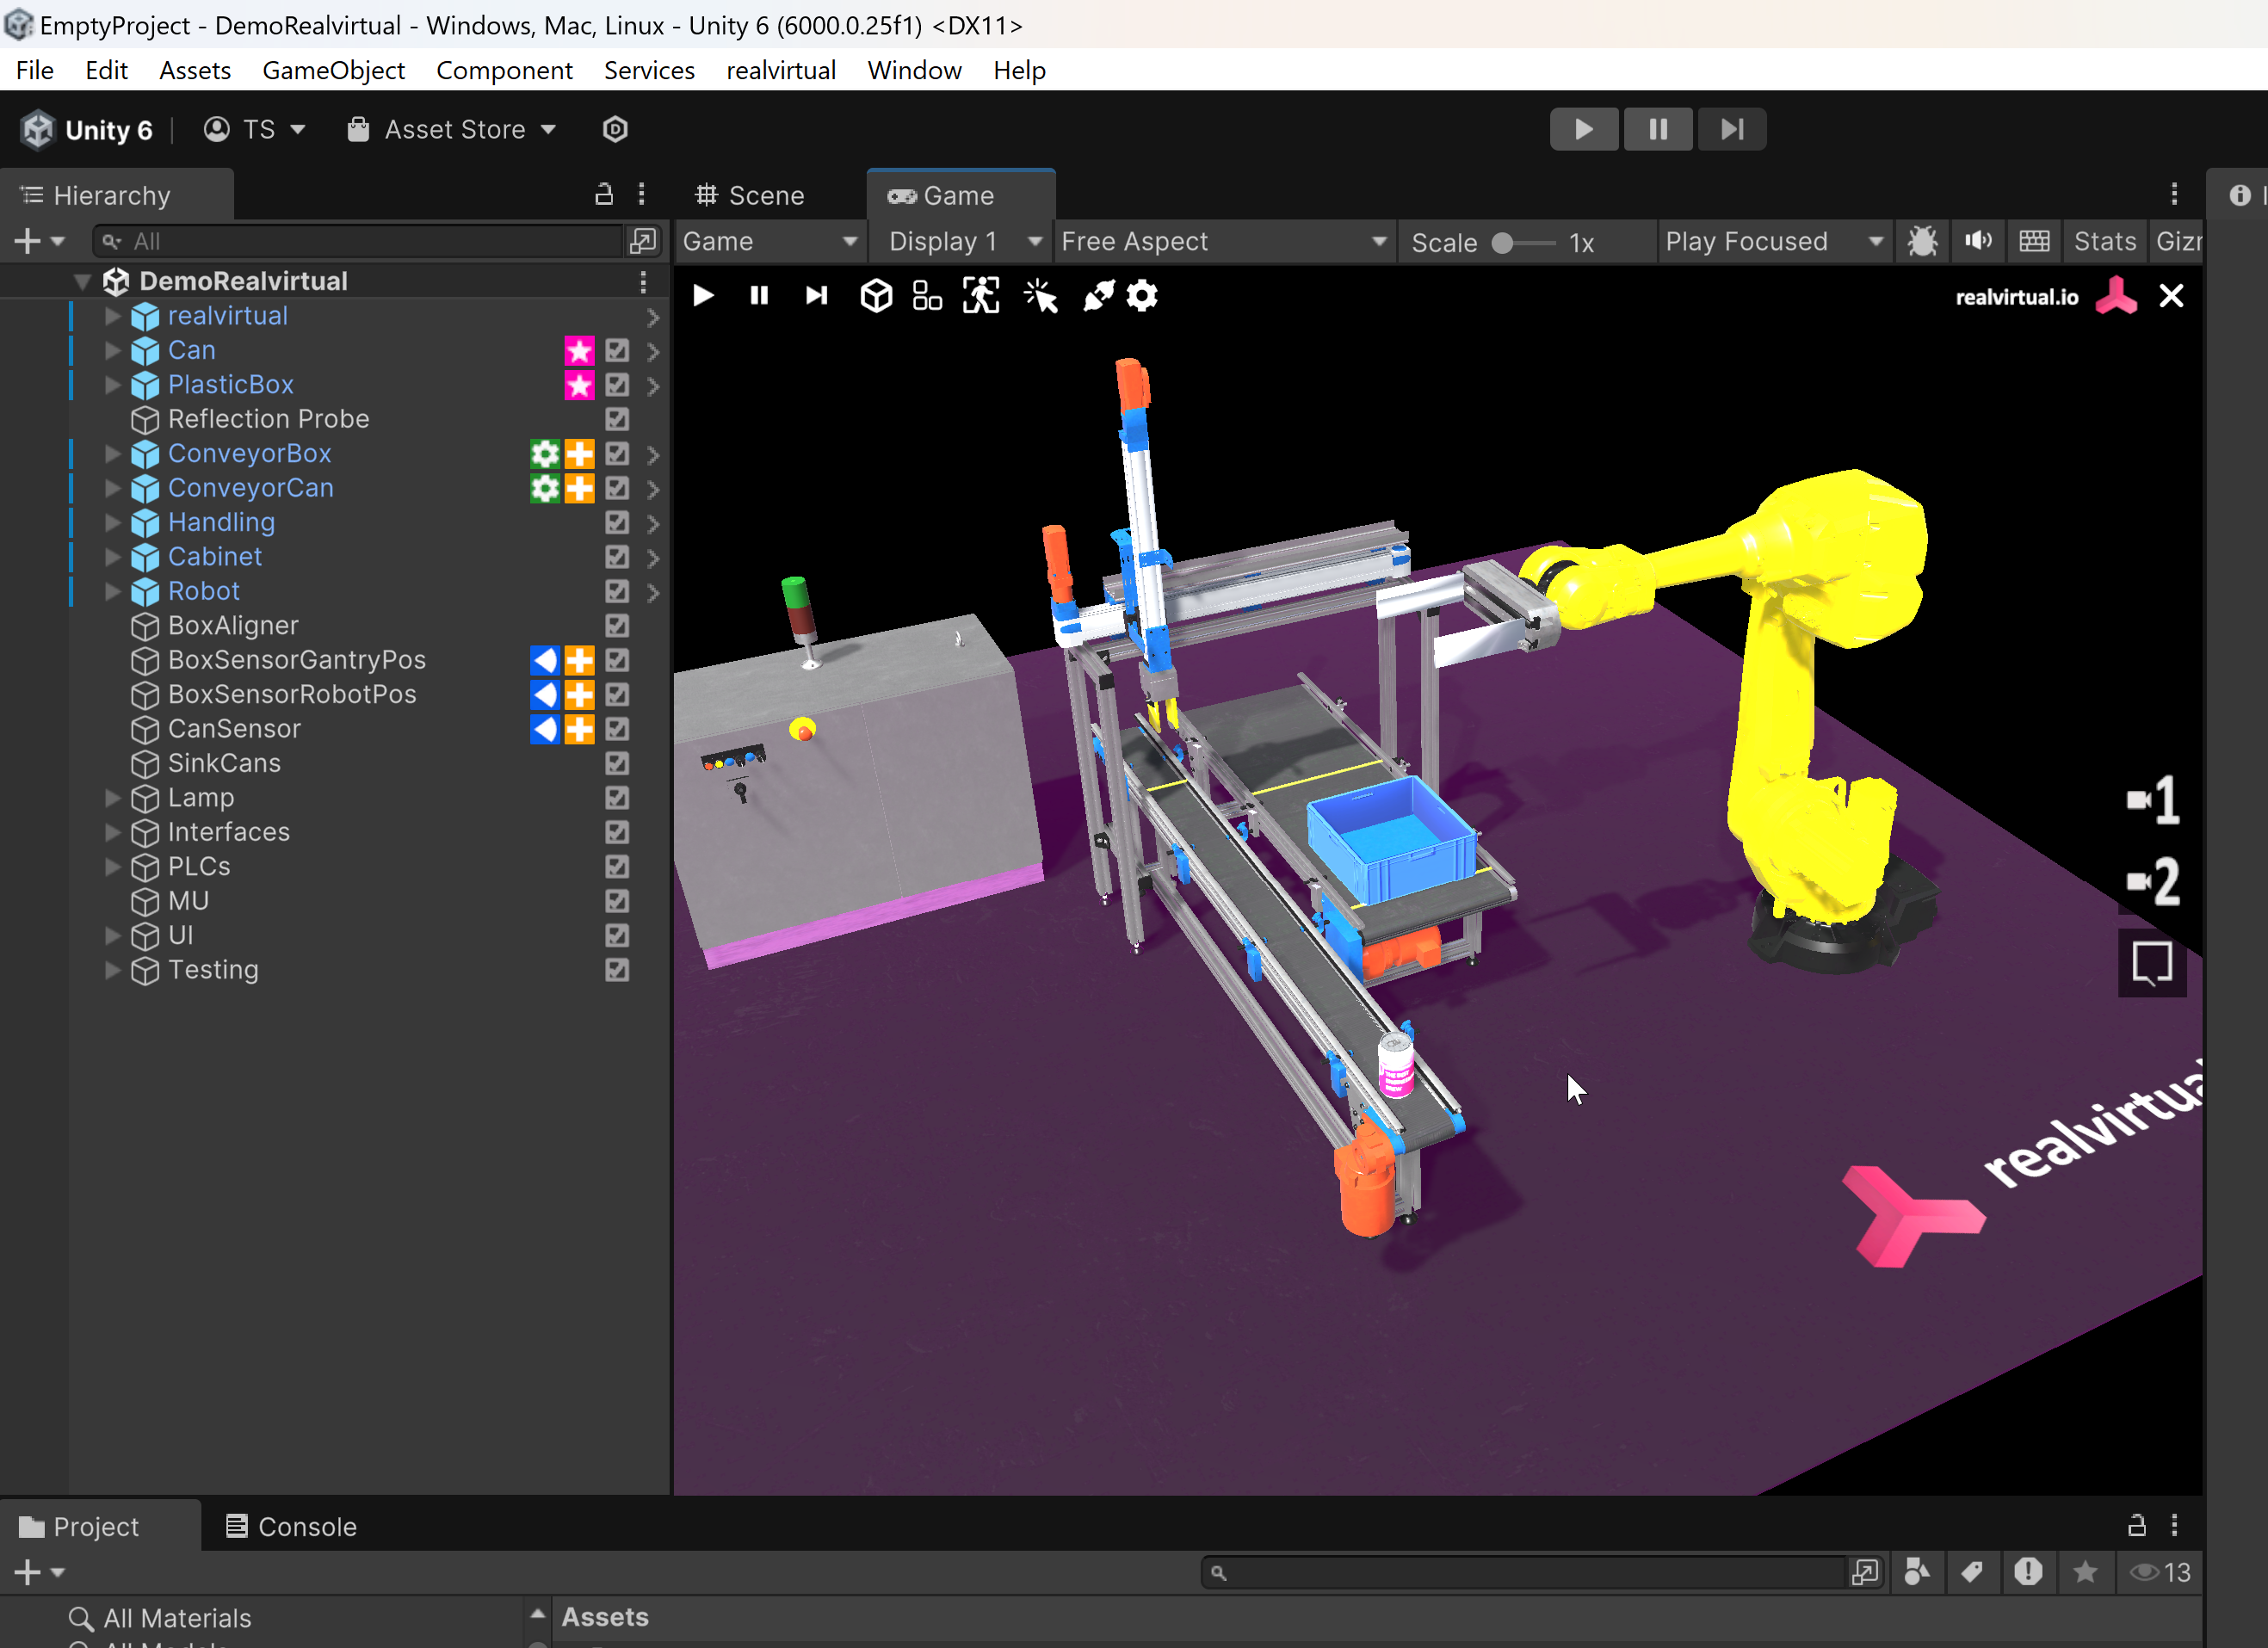
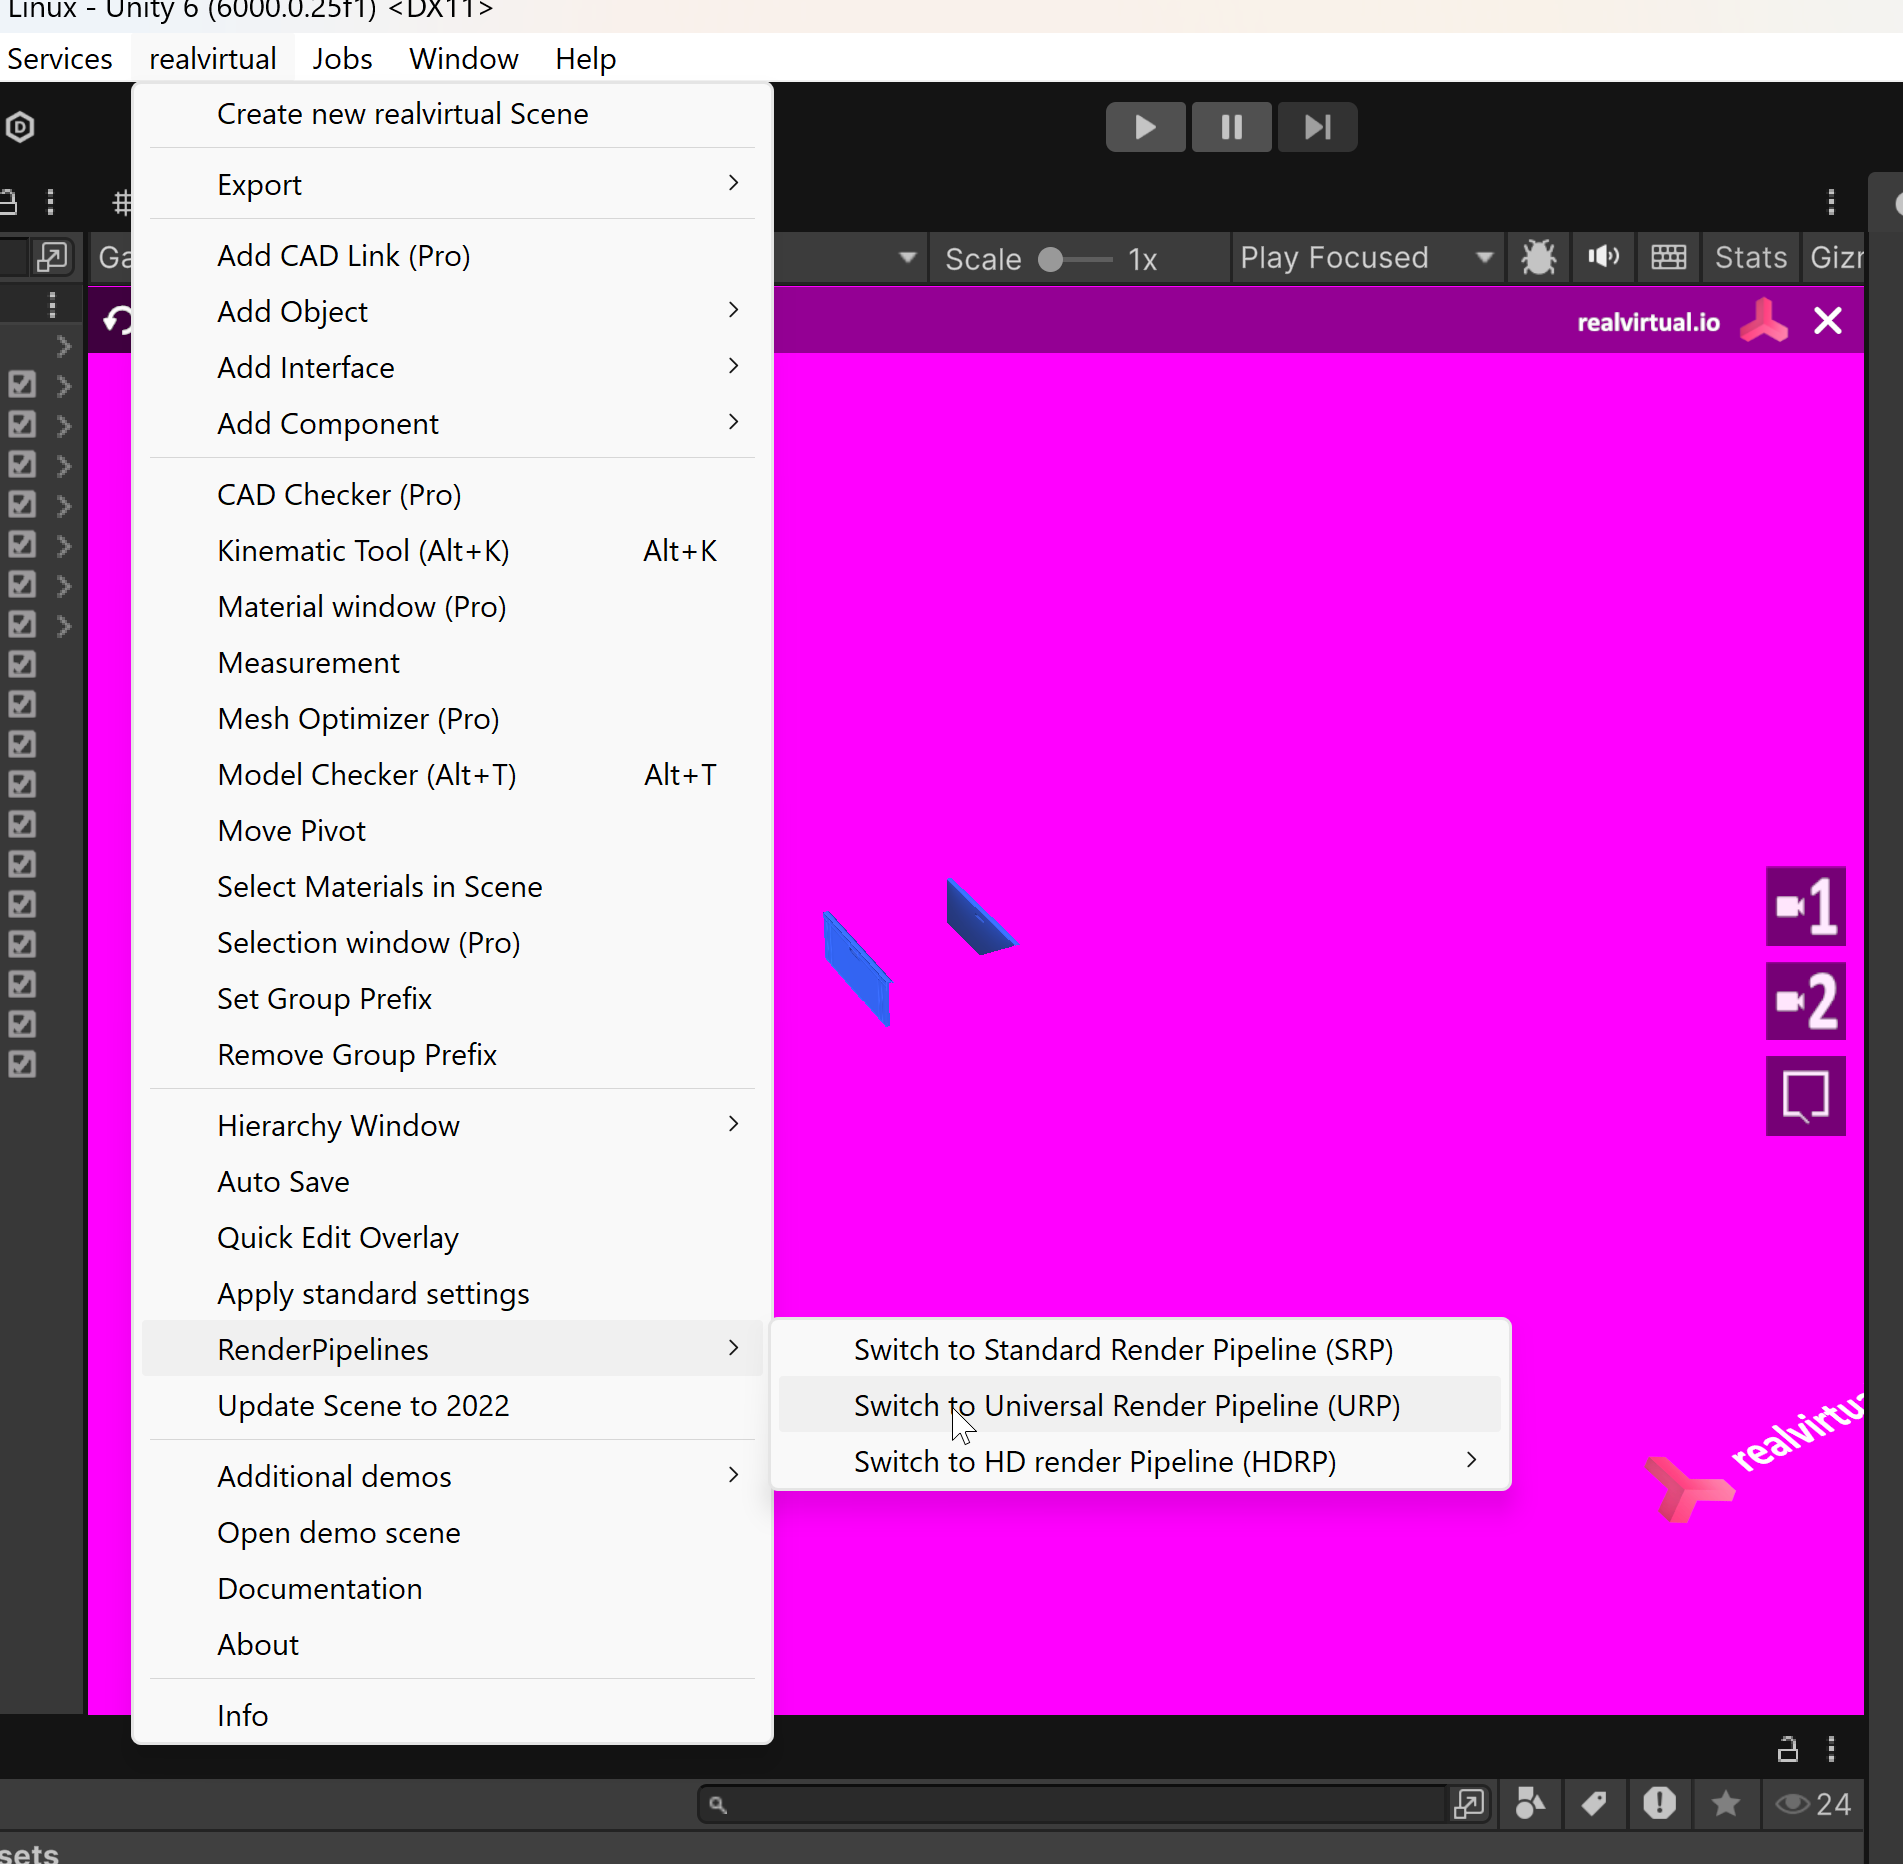
- Pink Materials Issue: Materials in your scene might appear pink. This happens if your previous project used the Standard Rendering Pipeline.
- Convert Materials to URP: Go to Tools > realvirtual > RenderPipelines > Switch to Universal Render Pipeline (URP). This action will convert all materials in your project to be compatible with URP.
Step 4: Import realvirtual.io 6 Package
- Import Custom Package: Go to Assets > Import Custom Package and select the latest realvirtual.io 6 package.
- Expect Compilation Errors: After import, you will likely see compilation errors in the Unity console. This is normal during the upgrade process.
- Close Unity: Close the Unity Editor completely.
- Clean Project Cache:
- Delete the Library folder in your project directory
- Delete the Assets/realvirtual folder (the old version)
- Reopen Project: Open your project again in Unity 6. This will regenerate the Library folder with updated settings.
- Import Package Again: Import the realvirtual.io 6 package once more via Assets > Import Custom Package.
- Verify Import: After the second import, compilation errors should be resolved, and the new realvirtual.io 6 framework will be properly integrated.
After following these steps, your project should be fully upgraded to realvirtual.io 6 with URP compatibility, restoring the correct material and scene appearance.