
Screen Overlay Buttons
This documentation explains how to set up and use the overlay buttons whithin a scene. All elements are in the UIPrefabs folder.
Overview
Section titled “Overview”- OverlayButtons Prefab: A pre-designed canvas that serves as the central UI element for your set up
- Button Prefabs: Predefined button styles designed for different functionalities and use cases, such as camera position, group connection and signal trigger.
Adding the user canvas
Section titled “Adding the user canvas”- Drag and drop the OverlayButtons-Prefab in the hierarchy. There are no further parameter needed.
- the button placement area, named “Buttons,” is positioned by default along the right margin.
Button prefabs
Section titled “Button prefabs”All button prefabs include the rvUIToolbarButton component, where you can configure the following parameters:
- Item Tooltip: Defines the button’s tooltip text.
- Tooltip Position: Sets the tooltip’s display position relative to the button.
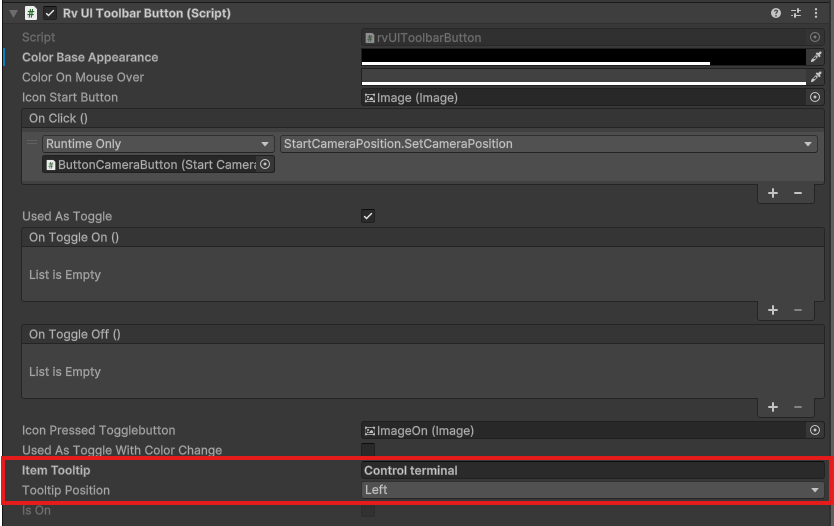
rvUIToolbarButton
Each button GameObject contains two child images where you can assign custom sprites
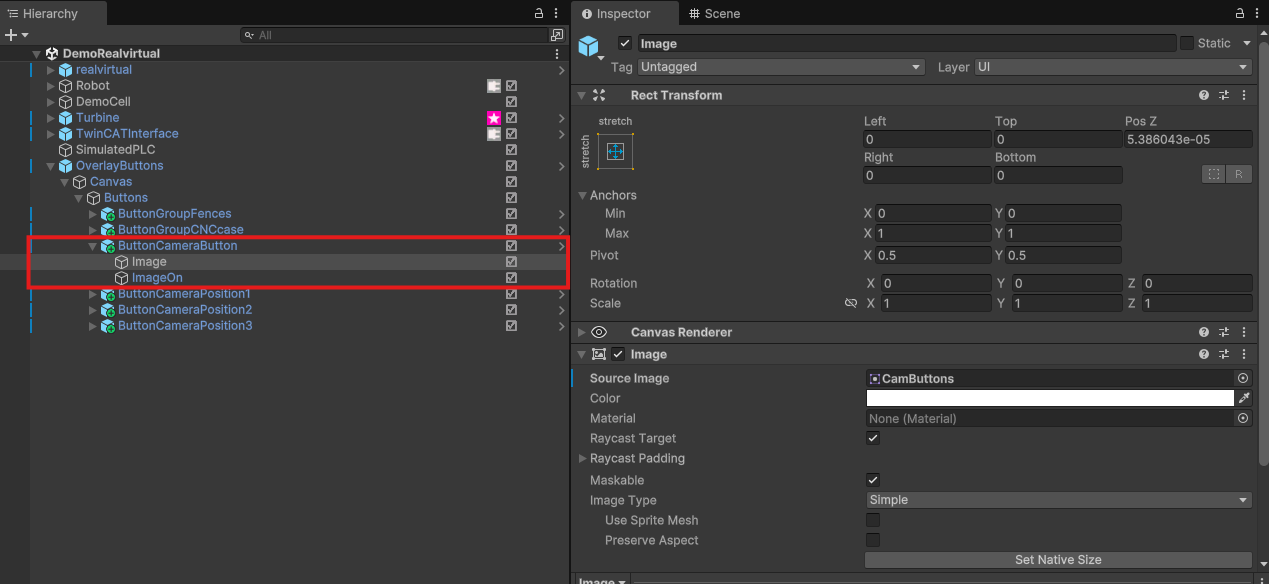
Set button images
Button Camera position
Section titled “Button Camera position”Within the component “StartCameraPosition” you can assign a Camera Pos.
Section titled “Within the component “StartCameraPosition” you can assign a Camera Pos. ”
A camera position is created in the following way:
- “Right Click” in your project and select “Create/realvirtual/Add Camera Position”. This creates a scriptable object where you define the position of the camera.
- Assign the created camera position to the “StartCameraPosition” component.
Button Show Group
Section titled “Button Show Group”The ButtonShowGroup component provides a list of groups available to the user in Playmode. Select a group to control its visibility with the button.

To define these groups for Playmode, use the GroupManager in the RealVirtual prefab. Ensure the GroupManager used is also assigned in the ButtonShowGroup component.